Branch
Branch Settings
The Branch Settings section allows restaurants to manage multiple restaurant locations within the system. Each branch can have its own address and operational setup while still being managed from the same POS platform.
1. What are Branch Settings?
Branch Settings allow restaurants with multiple outlets or locations to manage each branch individually within the POS system. Each branch can have separate operational configurations while still being connected to the main system.
- Manage multiple restaurant locations
- Store branch-specific address information
- Track operations across different outlets
- Assign staff and orders to specific branches
- Improve multi-location management
2. Understanding Branch Table
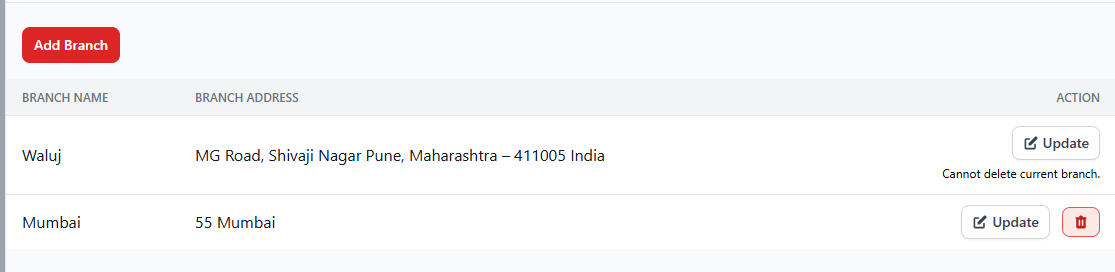
The Branch management table displays all branches added to the system along with their details.
| Column | Description |
|---|---|
| Branch Name | Name of the restaurant branch or outlet. |
| Branch Address | The full address of the branch location. |
| Action | Allows administrators to update or delete the branch information. |
3. How to Add a New Branch
- Navigate to Settings → Branch.
- Click the Add Branch button.
- Enter the branch name.
- Provide the branch address.
- Save the branch details.
4. Managing Branch Information
Once branches are added, administrators can update or remove branch details as needed.
- Edit branch name or address using the Update option.
- Delete branches that are no longer operational.
- Ensure each branch has accurate location details.
5. Important Notes
The currently active branch cannot be deleted from the system. To remove
a branch, first switch to another branch and then delete it.
For restaurants with multiple outlets, it is recommended to maintain
accurate branch addresses for proper reporting and operational tracking.