Login Process
Getting Started – Login Process
This section explains how to create an account, complete the initial setup, and log in to access your restaurant dashboard.
1. Create Your Account
To begin using the system, you must first create an Annaposh account. Click on Get Started from the homepage.
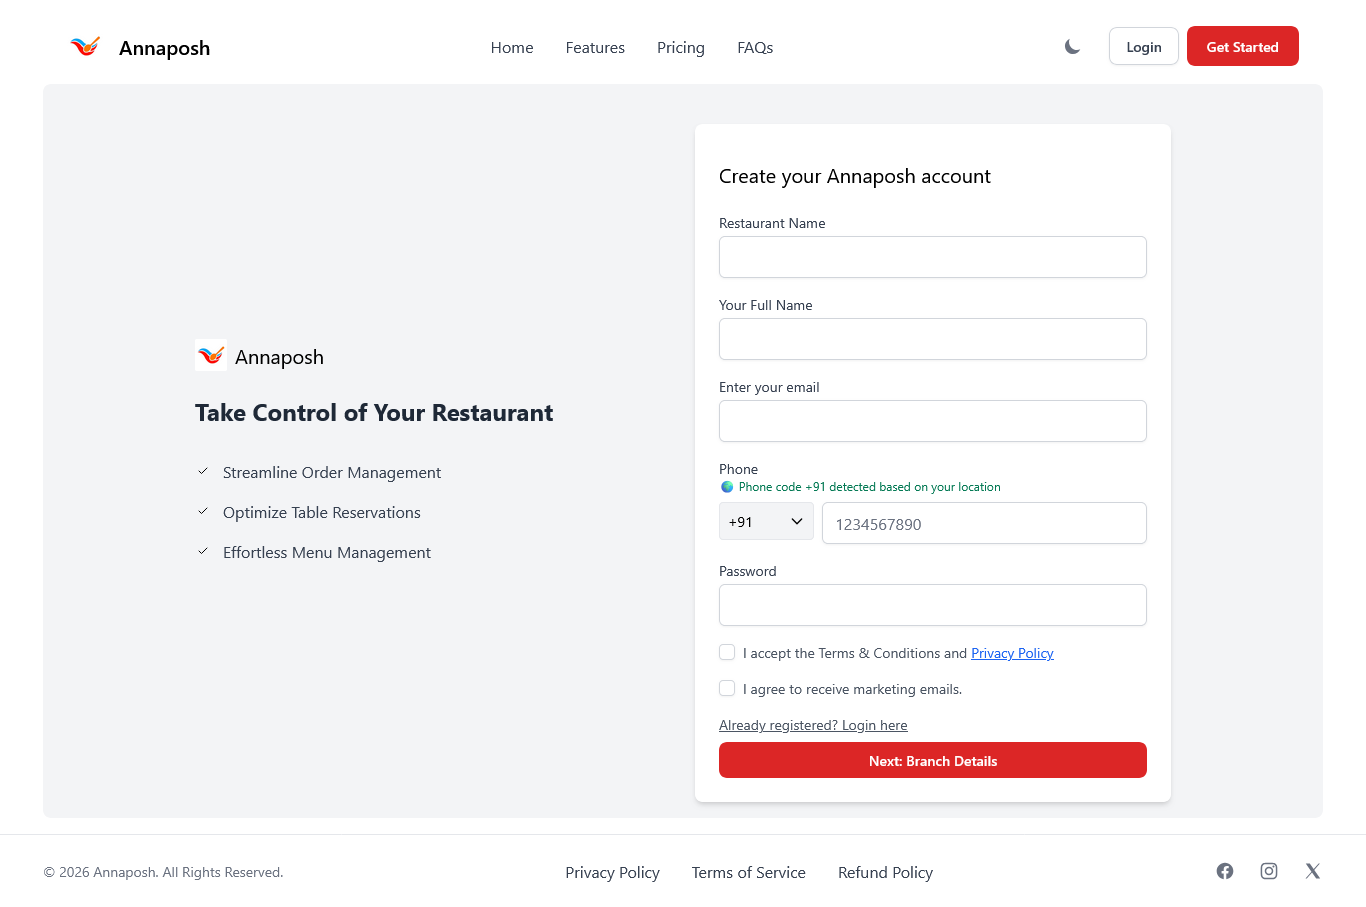
Required Information
- Restaurant Name
- Your Full Name
- Email Address
- Phone Number
- Password
After entering the required details, accept the Terms & Conditions and click Next: Branch Details.
2. Add Restaurant Branch Details
After creating your account, you must enter your branch information.
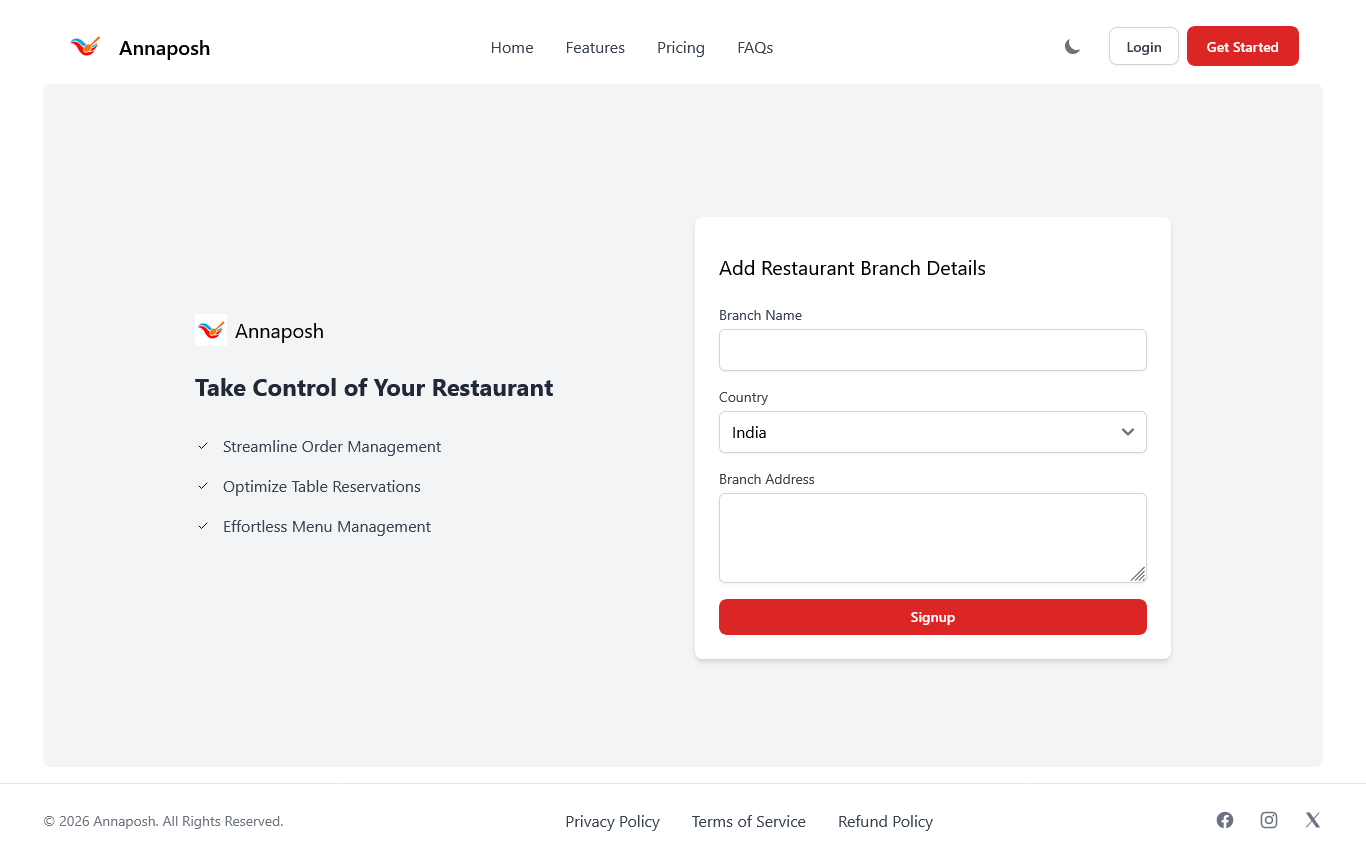
- Branch Name
- Country
- Branch Address
Click Signup to proceed.
3. Complete Initial Setup
After registration, the system will guide you through mandatory setup steps.
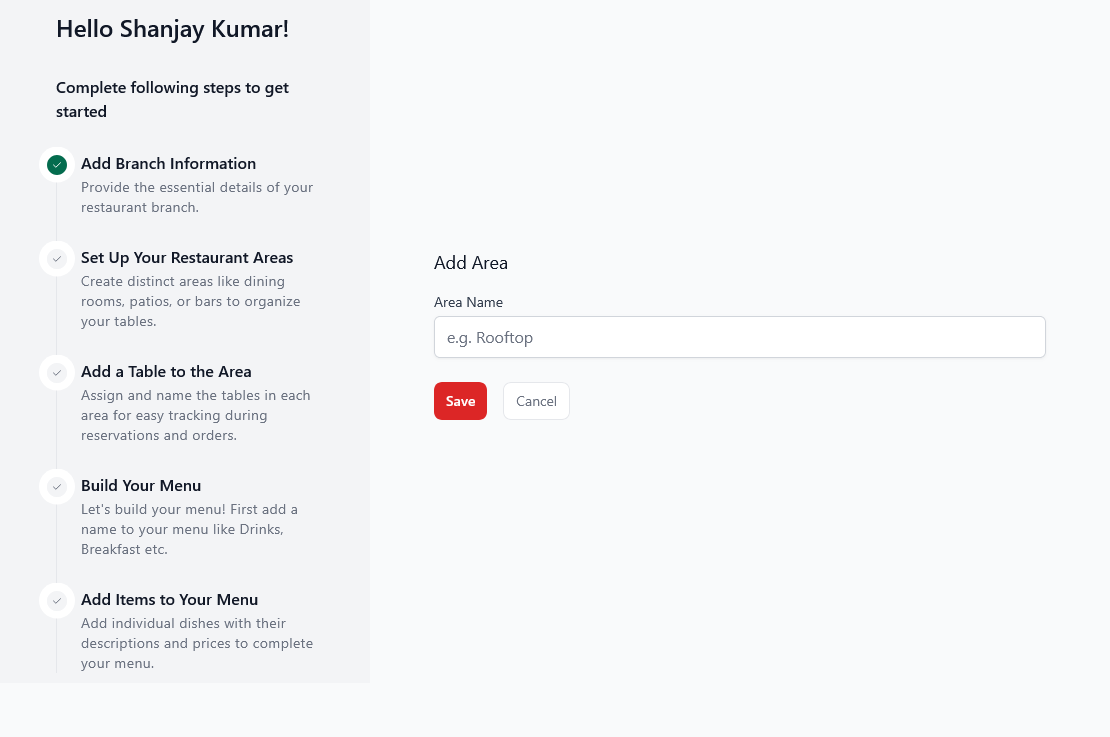
Setup Checklist Includes:
- Add Restaurant Areas
- Add Tables
- Create Menu
- Add Menu Items
4. Account Verification
Once setup is completed, your restaurant account will enter verification mode.
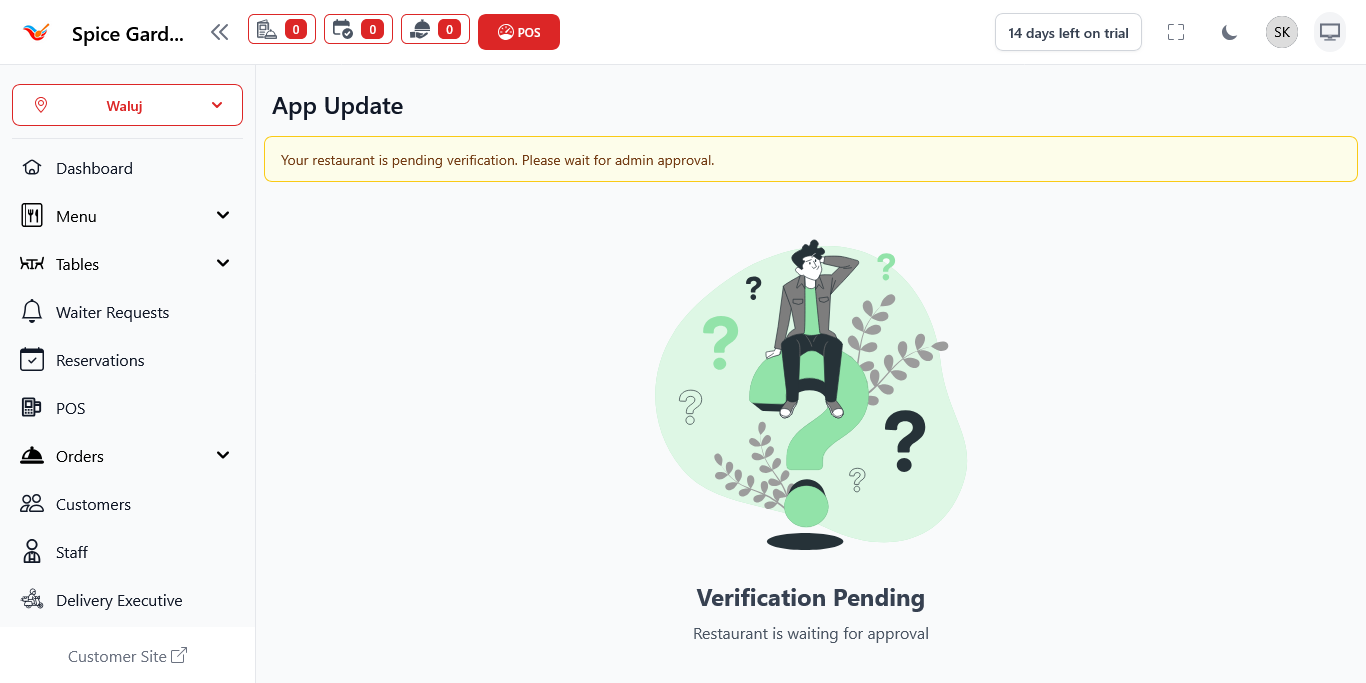
During this stage:
- Your details are reviewed by the administrator.
- Some features may be temporarily restricted.
- You will see a “Verification Pending” notification.
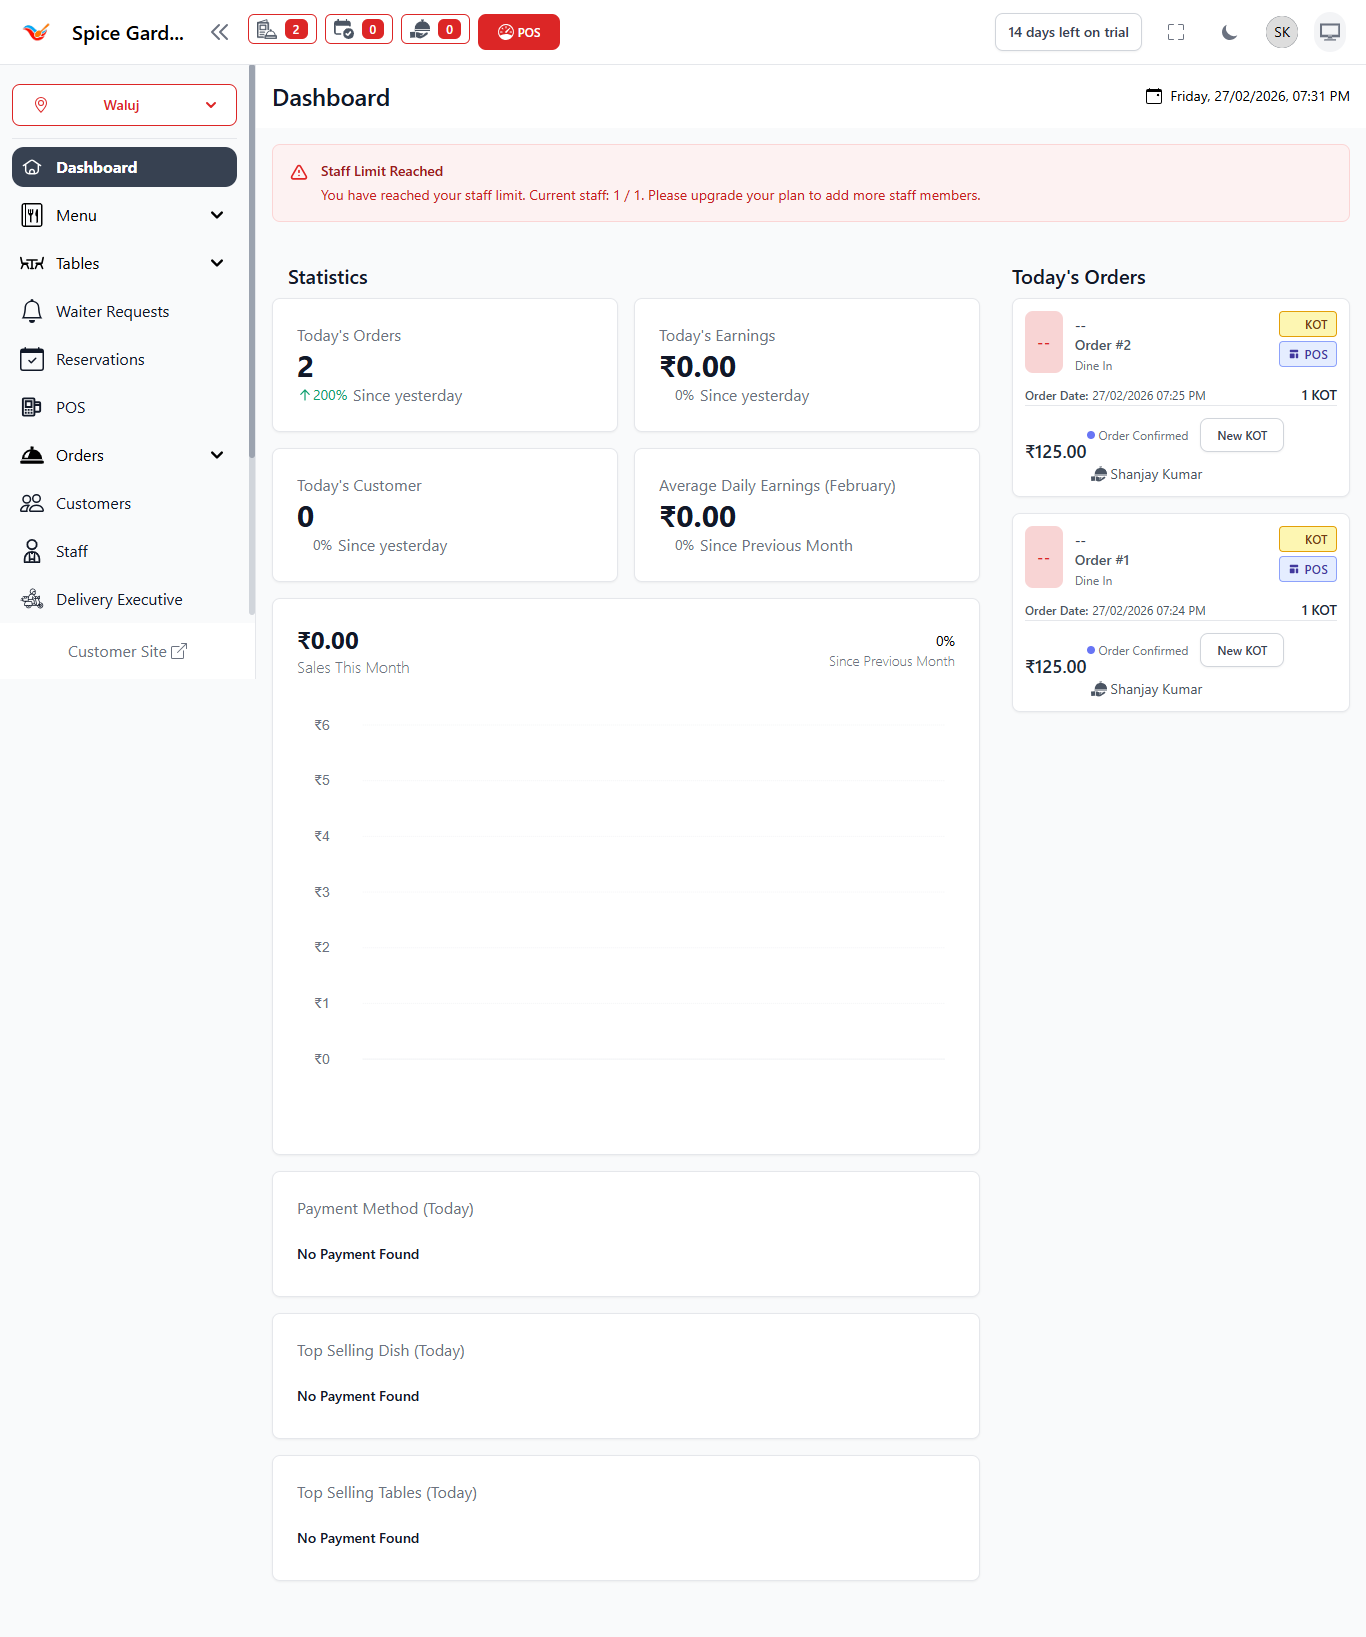
5. Logging Into Your Dashboard
After verification approval, you can log in anytime using your credentials.
Steps to Login:
- Go to the Annaposh login page.
- Enter your registered email address.
- Enter your password.
- Click Login.
Upon successful login, you will be redirected to the dashboard.