Menu
Menu Setup
The Menu Setup section allows you to create and manage different menus for your restaurant such as Main Menu, Online Menu, or Special Event Menu. Every category and item is linked to a menu.
1. What Is a Menu?
A Menu is the top-level container that holds categories and menu items.
Restaurants can create multiple menus for different use cases.
Examples:
- Main Dining Menu
- Breakfast Menu
- Lunch Special Menu
- Online Ordering Menu
- Festival or Event Menu
At least one menu must exist before adding categories or items.
2. Accessing Menu Setup
- Login to the Dashboard.
- Navigate to Menu in the sidebar.
- Select Menus (if available in submenu).
You will see a list of created menus.
3. Creating a New Menu
- Click Add Menu.
- Enter the Menu Name.
- Configure availability settings (if applicable).
- Click Save.
Use descriptive names to avoid confusion when managing multiple menus.
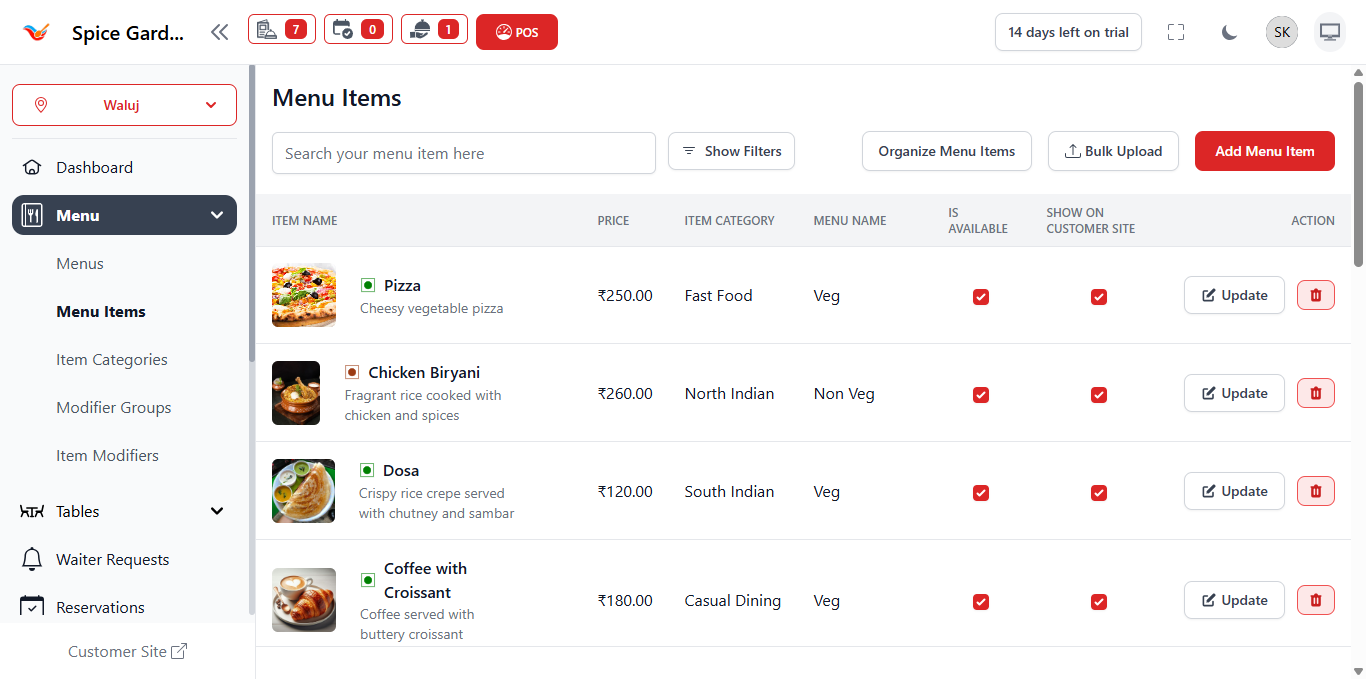
4. Understanding the Menu List
The menu list displays:
- Menu Name – Name of the menu.
- Status – Active or inactive.
- Actions – Update or Delete options.
Only active menus are visible in POS and digital ordering.
5. Updating a Menu
- Click Update beside the menu.
- Edit necessary fields.
- Save changes.
Updating a menu does not affect existing categories or items.
6. Deleting a Menu
- Click the Delete icon.
- Confirm deletion.
A menu cannot be deleted if categories or items are assigned to it.
7. Recommended Setup Workflow
- Create Menu
- Create Item Categories
- Add Menu Items
- Create Modifier Groups
- Add Item Modifiers
- Assign Modifiers to Items
Following this structured setup ensures smooth POS operation.